Version Control
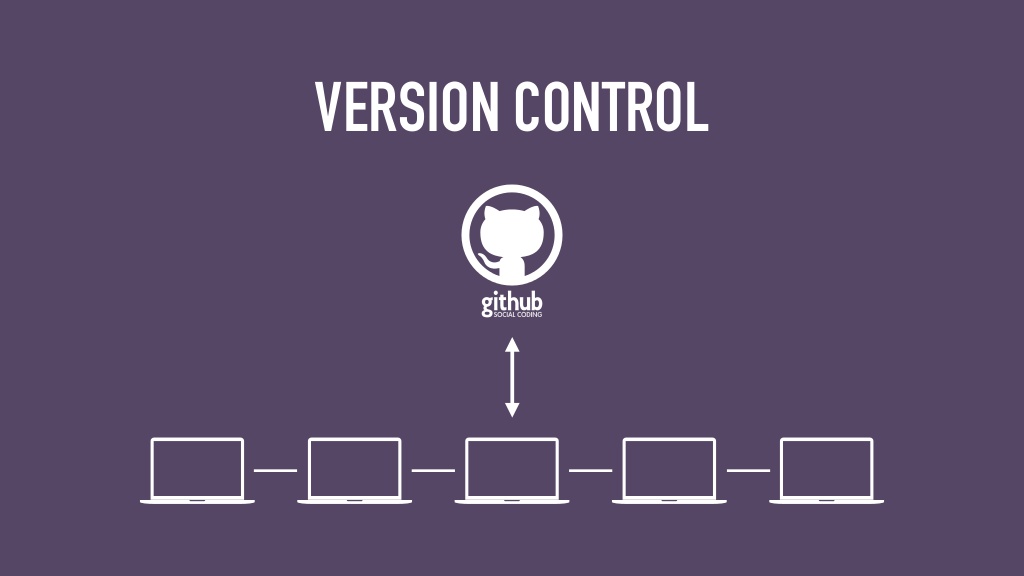
Our application software and associated documentation use Git and the Github hosting service to handle the software version control (SVC) aspects of the change control process that we follow. This page details how to set up and use the the VA3WAM git environment.
Local Directory Setup
Set up your local hard-drive with a directory structure like the one below. The “Markdown” directory tree hold local repositories for Pages and Wiki. The “PlatformIO” directory tree holds local repositories for embedded code.
.
+--VisualStudioCode
   +--Markdown
      +--Projects
         +--Github URL (i.e. va3wam.github.io)
         +--Github URL (i.e. https://github.com/va3wam/TWIPe/wiki)
   +--PlatformIO
      +--Projects
         +--TWIPI
         +--etc
Local Repository Setup
Once the directory tree above is set up on your hard drive use the command
git clone to set up any of the repositories that interest you. Note that you get the URL in your browser by navigating to the repository you want, click the green Clone or Download button and copying the repository URL to the clipboard. The next steps are done in a terminal session within Visual Studio Code.
Website
Here is a link to the source code for Aging Apprentice website which is hosted on Github Pages.
Embedded Code Repository
If you want to work on a VA3WAM Github embedded code repository follow these steps.
cd .../VisualStudioCode/PlatformIO/Projects
git clone https://github.com/va3wam/{project name}
Set up Remote Association
Once you clone the directory to the Projects folder you should see a sub-directory named after the cloned repository. Go into that directory and issue the command git remote. If you get the response origin back then you are all set up with a local repository and an associated remote. If you get a blank response back then issue the command git remote add origin {repository URL} to set up the remote. At this point you can start developing your additions to the repository.
Git Workflow
VA3WAM repositories are updated using a feature branching workflow. This approach was selected after reading a post by Vincent Driessen about how his widely adapted method created 2010 is worth revisiting. The approach selected for VA3WAM repositories was chosen based on this survey conducted by Atlassian regarding common Git workflows. Here is a run down on how to contribute following this workflow. If you want to practice this process and have been granted access then you can use the VA3WAM LearnToBranch repository.
Branch
If you want to make changes to an existing VA3WAM repository you must first create a branch as we do not submit changes to the remote repositories master branch. Here is the process.
git checkout masterto get into the local master branchgit pullto make sure your local mater is in sync with the remote mastergit checkout -b {branch name}to create a local branch and move to it. Use a meaningful branch name like an issue number or reference to the purpose of the codegit merge master- put local mater code into local branchgit push --set-upstream origin {branch name}- create a branch on the remote server and push the local branch content up to it.git branch -a- check your work. You should see you local and remote branches listed
</ol>
Now start coding. A best practice for naming a branch is either an issue number as all work should be assigned an issue before working on it. If you want to know what branch you are in locally or what remote branch you are pushing to type git status -sb. To delete a local branch type git branch -d {branch name}. To delete a remote branch type git push --delete origin {branch name}.
Commit
Committing does not affect the local Master (assuming that you branched as described above) nor the remote repository at all. It is a best practice to make commits often. This will create a nice set of comments for all the work being done. These comments will carry forward to your pull request. git commit -a -m "{put message here}". Alternatively, we recomendusing the Source Control Tool in Visual Studio Code to do your commits. When you have files that have changed they are listed under the Chnages heading. Each line has a + icon used to stage the file.
- Click the + (stage) icon beside the file you wish to stage.
- The file moves up to the Staged Changes heading. Repeat this for all files that get the same commit message.
- Type in an explanation of what you did to the file. in the Messag text box.
- Click the checkmark icon to check in the staged file(s)
- Click the elipse tool then from the drop down menu select push. This commits the changes.
- Repeat this process until all of the files have been staged and committed with comments.
Pull Request
We use pull requests to merge branches with master. To make the pull/merge go smoothly you must first ensure that your branch is synchronized with master. Here is how to do that:
git checkout master- make sure that you are in your local master branchgit pull- get the latest code from GitHub mastergit checkout {branch name}- switch to the local branch you want to make a pull request forgit merge master- sync the local master code with your local branch codegit push -u origin {branch name}- push local branch to remote branch
At this point get into your browser and use the GitHub Pull Request button to create a pull request. Your pull request may be simple and be done fast or it may be complex and involve resolving conflicts or a lot of back and forward with reviewers. Whatever the case, eventually your pull request will be merged to the remote master. Once your pull request gets merged you need to do some clean up.
Post Merge
Once your pull request is merged into mater on the remote server you need to clean up your local and remote branches. Here is how to do that.
git checkout master- get into the local master directorygit pull- get the latest remote master code into the local master repositorygit branch -a- list all local and remote branchesgit branch -d -r origin/{branch name}- delete local pointer to GitHub remote branchgit push origin --delete {branch name}- delete branch on Github. NOTE: If the command above gives this error:error: unable to delete '{branch name}': remote ref does not existthen you may have deleted the branch using your browser when you completed your merge. You can safely ignore this error and proceed.git branch -d {branch-name}- delete local branch
If you want to track a remote branch from a local branch then use the command
git branch -u upstream/{branch name}
Pruning
If you issue the command git branch -a and find that you have a bunch of dead local and remote branches listed then you can clean up by issuog the command git fetch --prune origin.
Refernce Repo Structures
This section shows how we like to set up repositories based on what programming language is used.
Arduino/PlatformIO
.git
.pio
.vscode
.gitignore
+--src
+--lib
+--docs
+--math
+--physicalDesign
   +--fusionExports
   +--otherDesignInfo
+--pcb
   +--fusionExports
   +--otherCircuitryInfo
+--aaAdmin
   +--platformioAdmin
   +--repoAdmin
+--.github
   +--workflows
+--performance
   +--mqttScripts
   +--testData
   +--testingMethods
CODE_OF_CONDUCT
contributing.md
readme.md
DotNet & C#
.git
.vscode
.gitignore
+--src
+--lib
+--docs
+--math
+--aaAdmin
   +--platformioAdmin
   +--repoAdmin
+--.github
   +--workflows
+--performance
   +--mqttScripts
   +--testData
   +--testingMethods
CODE_OF_CONDUCT
contributing.md
readme.md